3D Scanning & Printing
1 - 3D printing.
2 - 3D Scanning.
a - Structured Light:
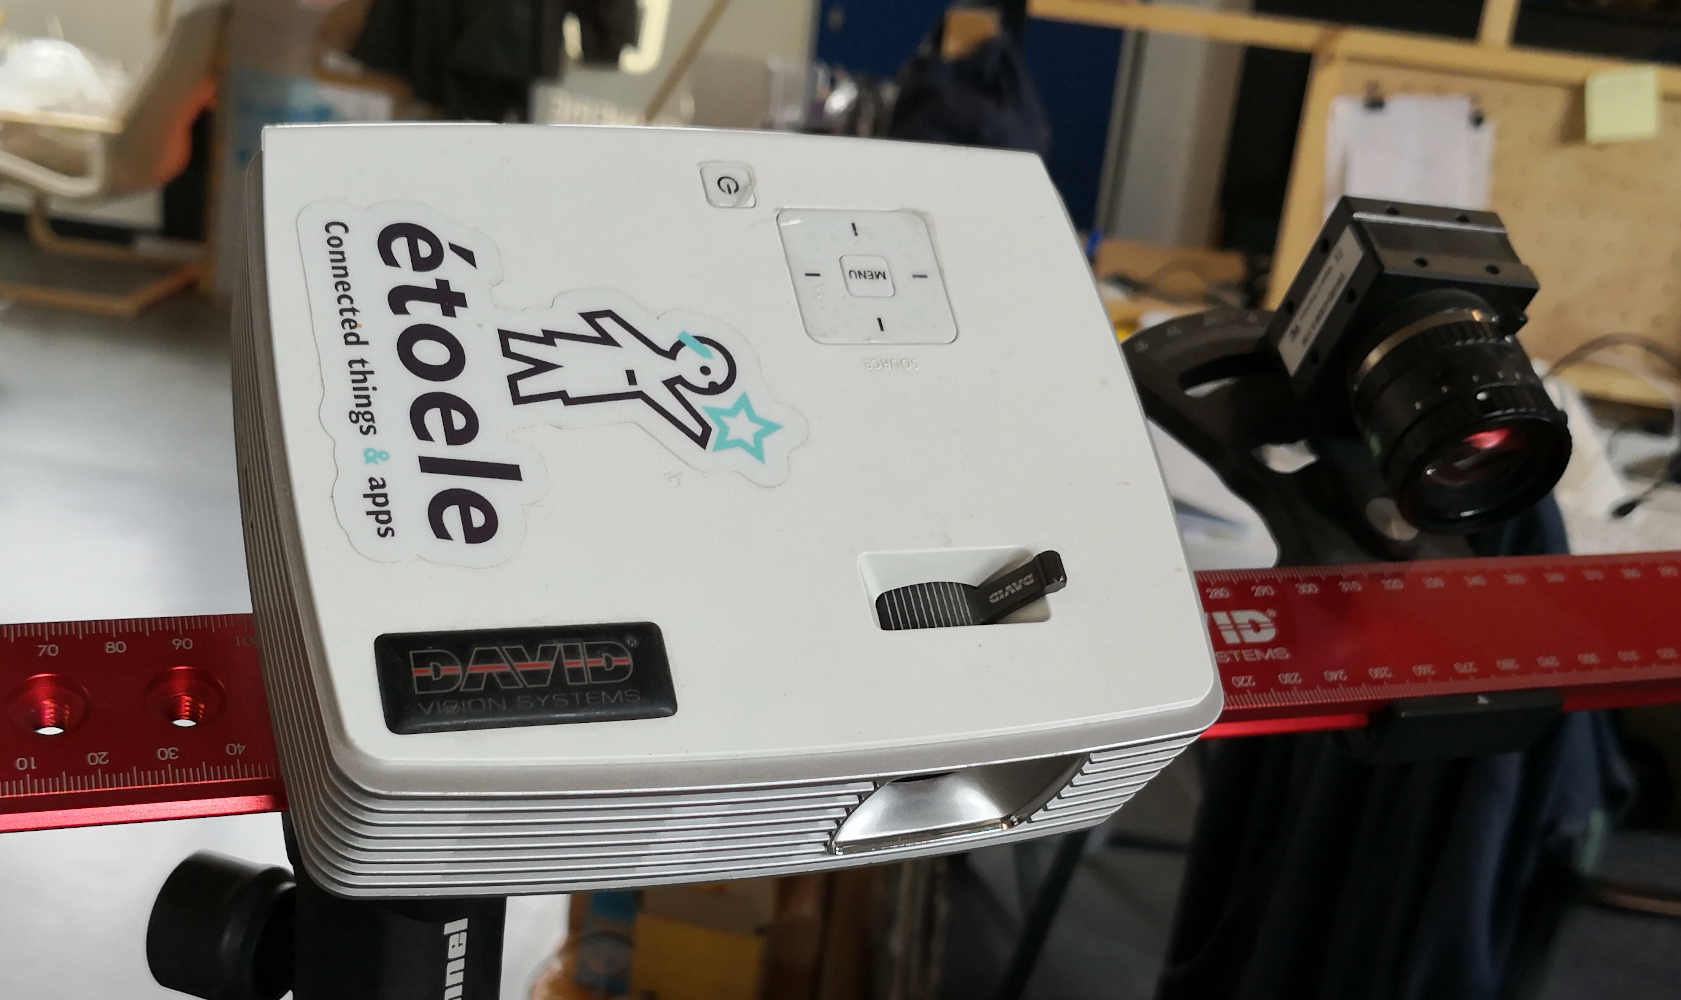
I'm gonna use first a Structured light device named DAVID. I'm starting by read the topic write by a last year student in la machinerie Benjamin Lemay.
The device use a video projector to light up the target with structural light schem & a camera to capture the light reaction on the target.
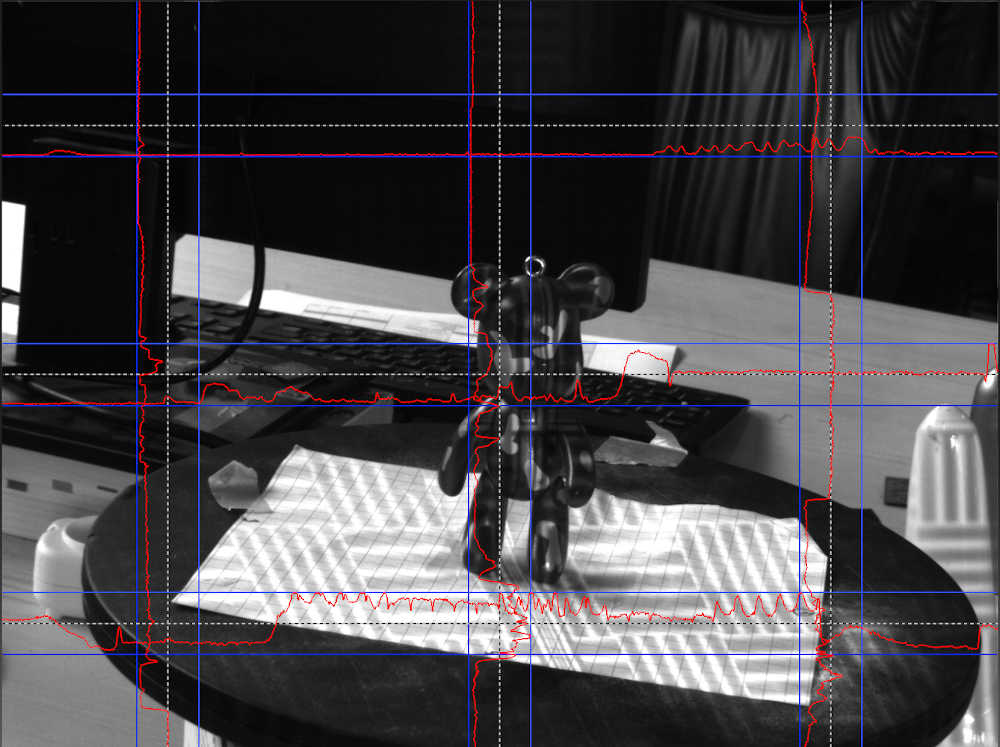
First we place all the stuff in place & set up the target & calibrate it with a specifique target.
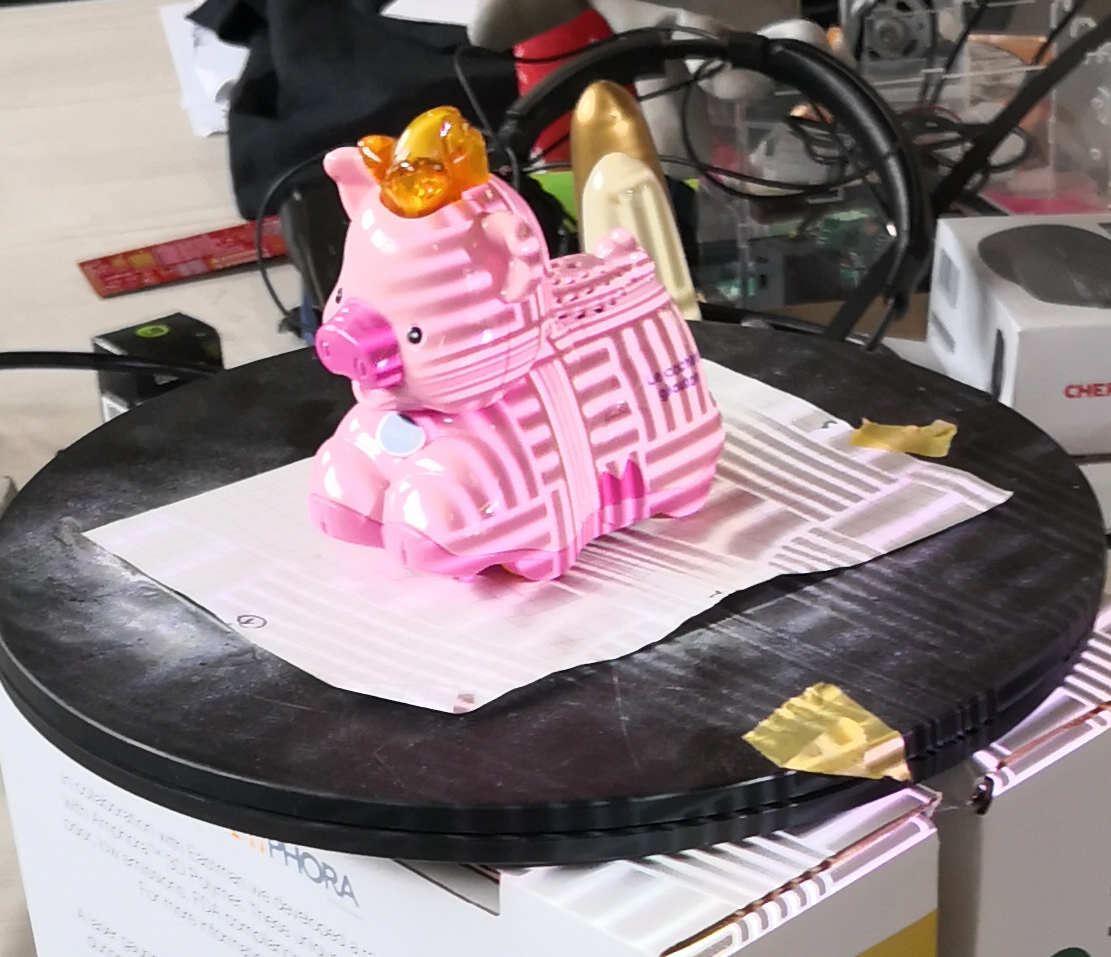
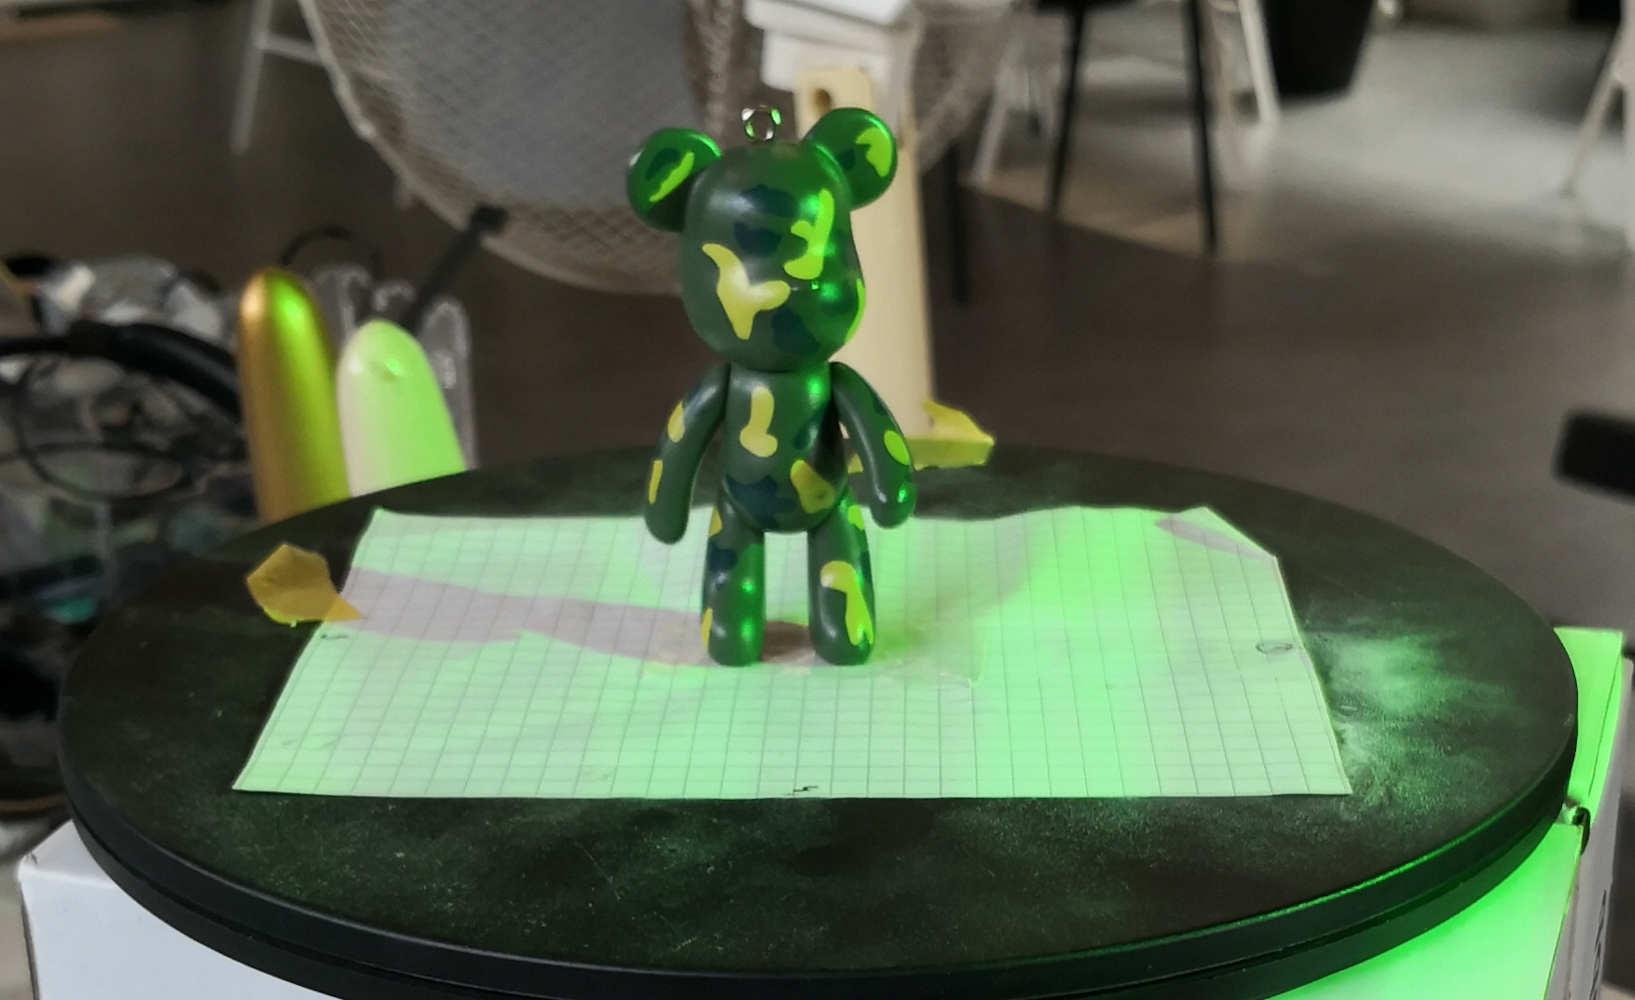
Upon the calibration is ok, we could start the scanning (Trick: To facilitate the alignment of different shots, we used a sheet of paper under the object. The corners of the sheet will serve as a reference.)
We taking multiple shoots & turn the piece at each new shoot, after that we have to align all the frame we take, clean it & fusioning it for the final result.
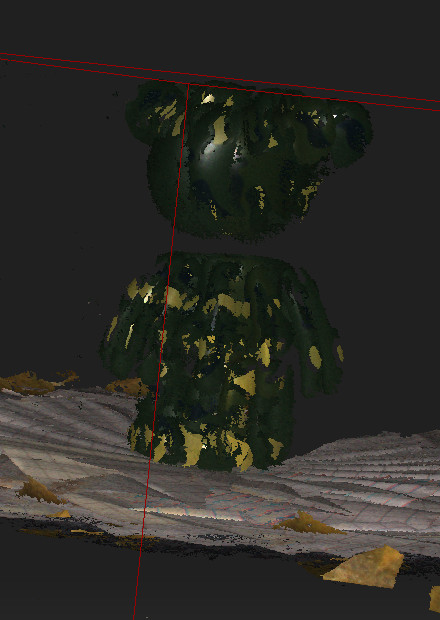
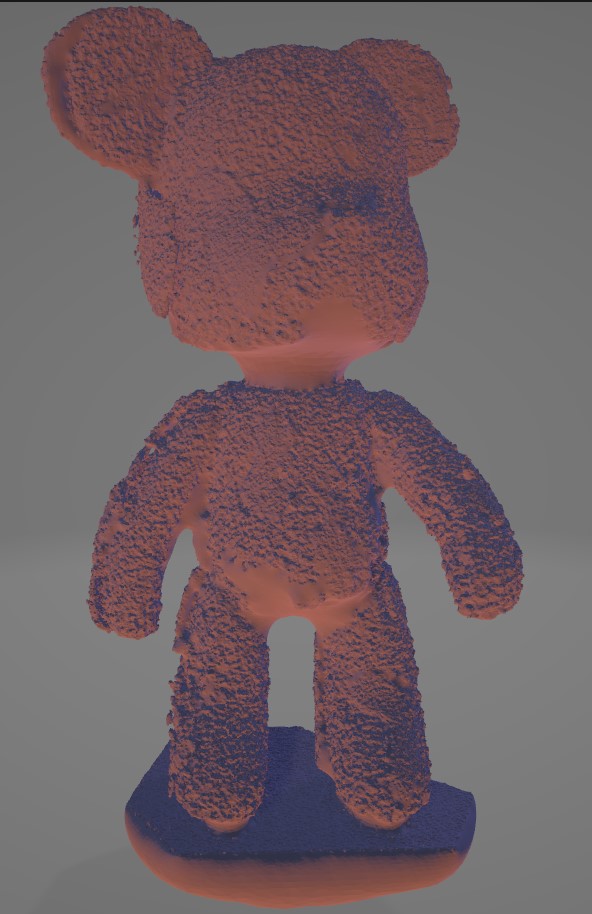
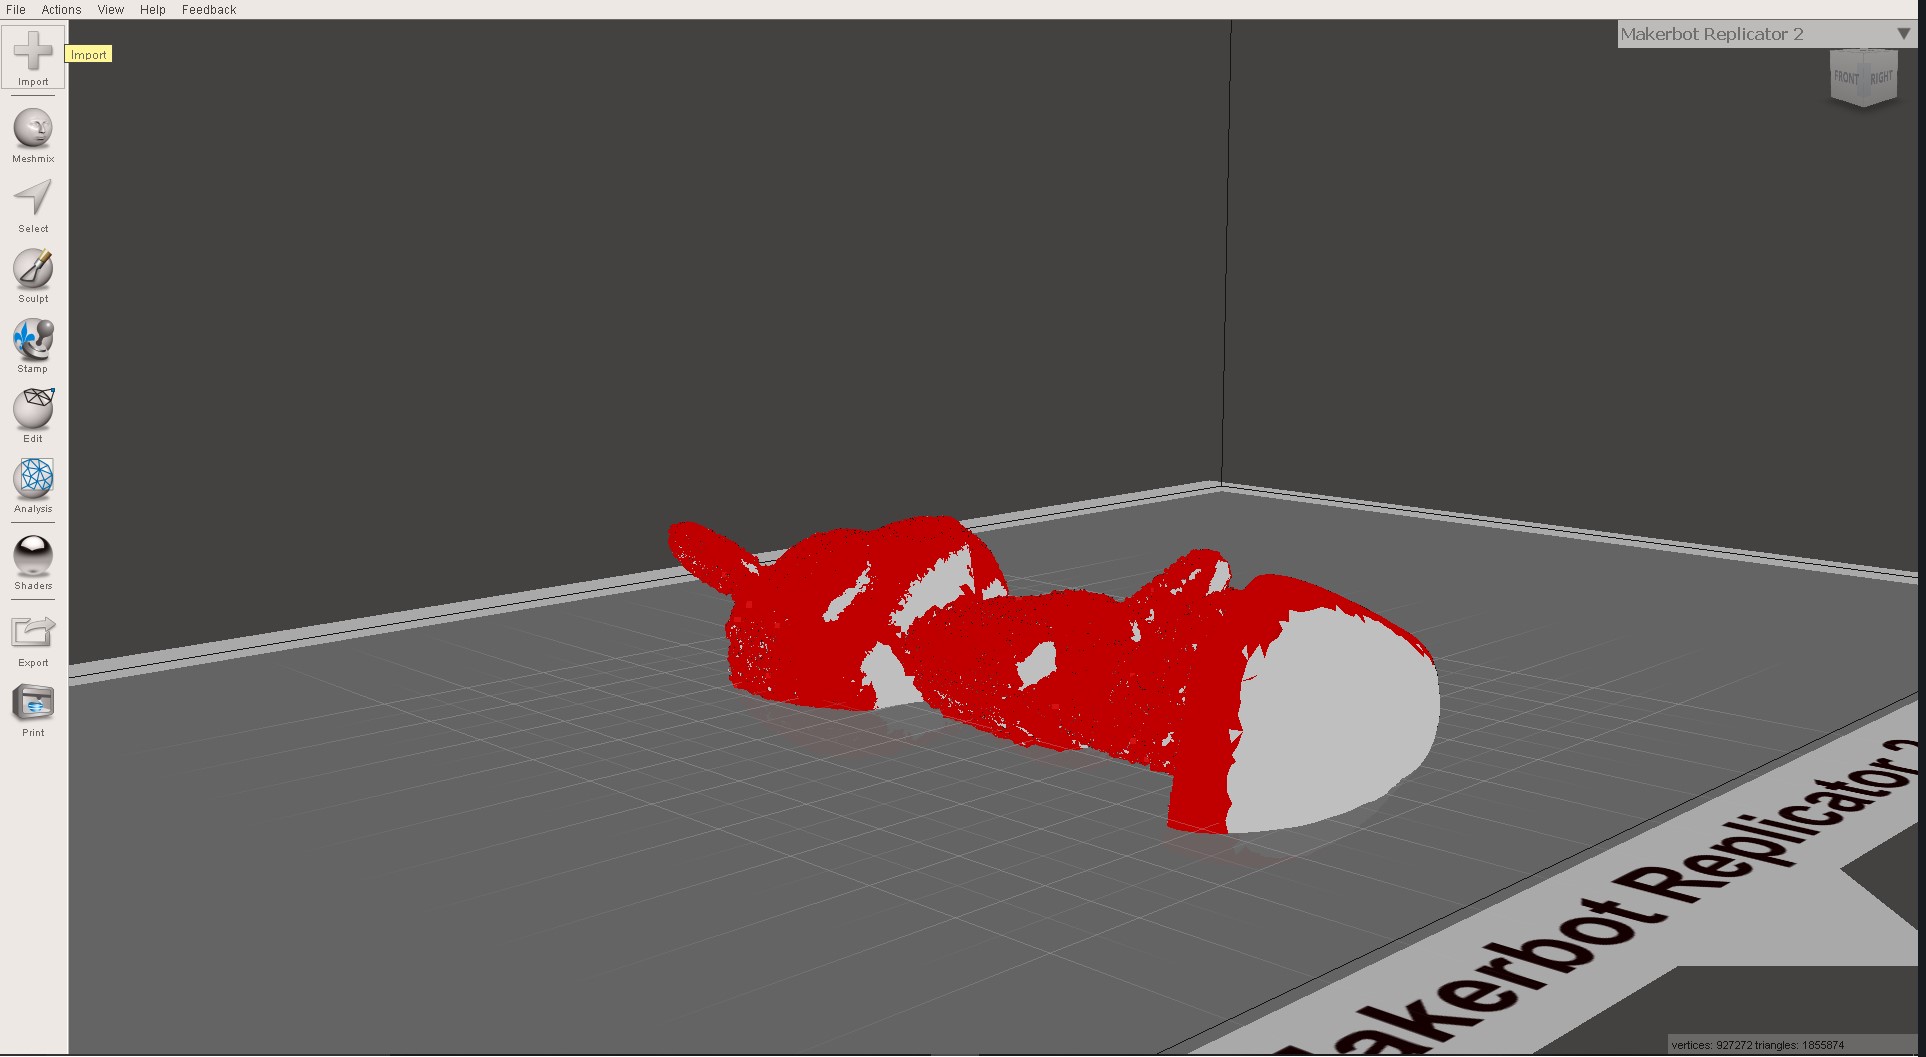
I use Meshmixer to clean up the result, loocking so much granulated for me.
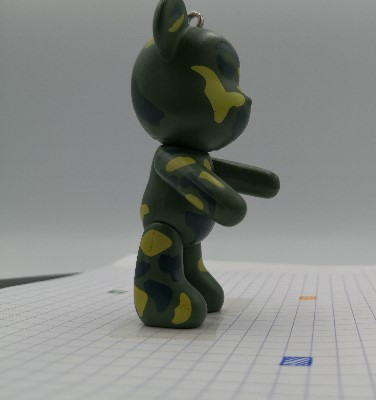
After discuting with JB about the bad ressult i have, he explain me it's due to the reflectance of my object, the bear is quite shiny and the reflective light don't give good result on it.
b - Photogrammetry:
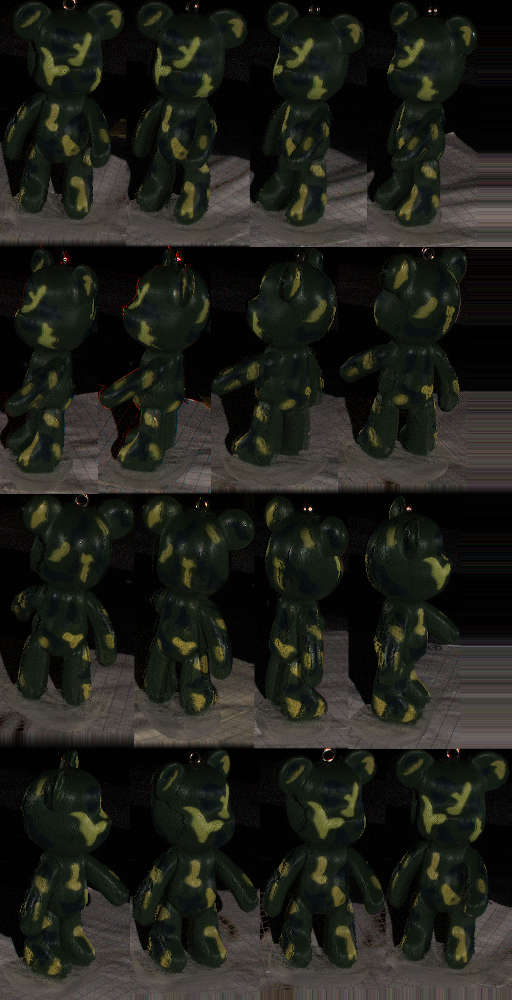
In a second time, i try to use Photogrammetry, this process consists of a mathematical use to extrapolate multiple photo of an object for modelize it in 3D.
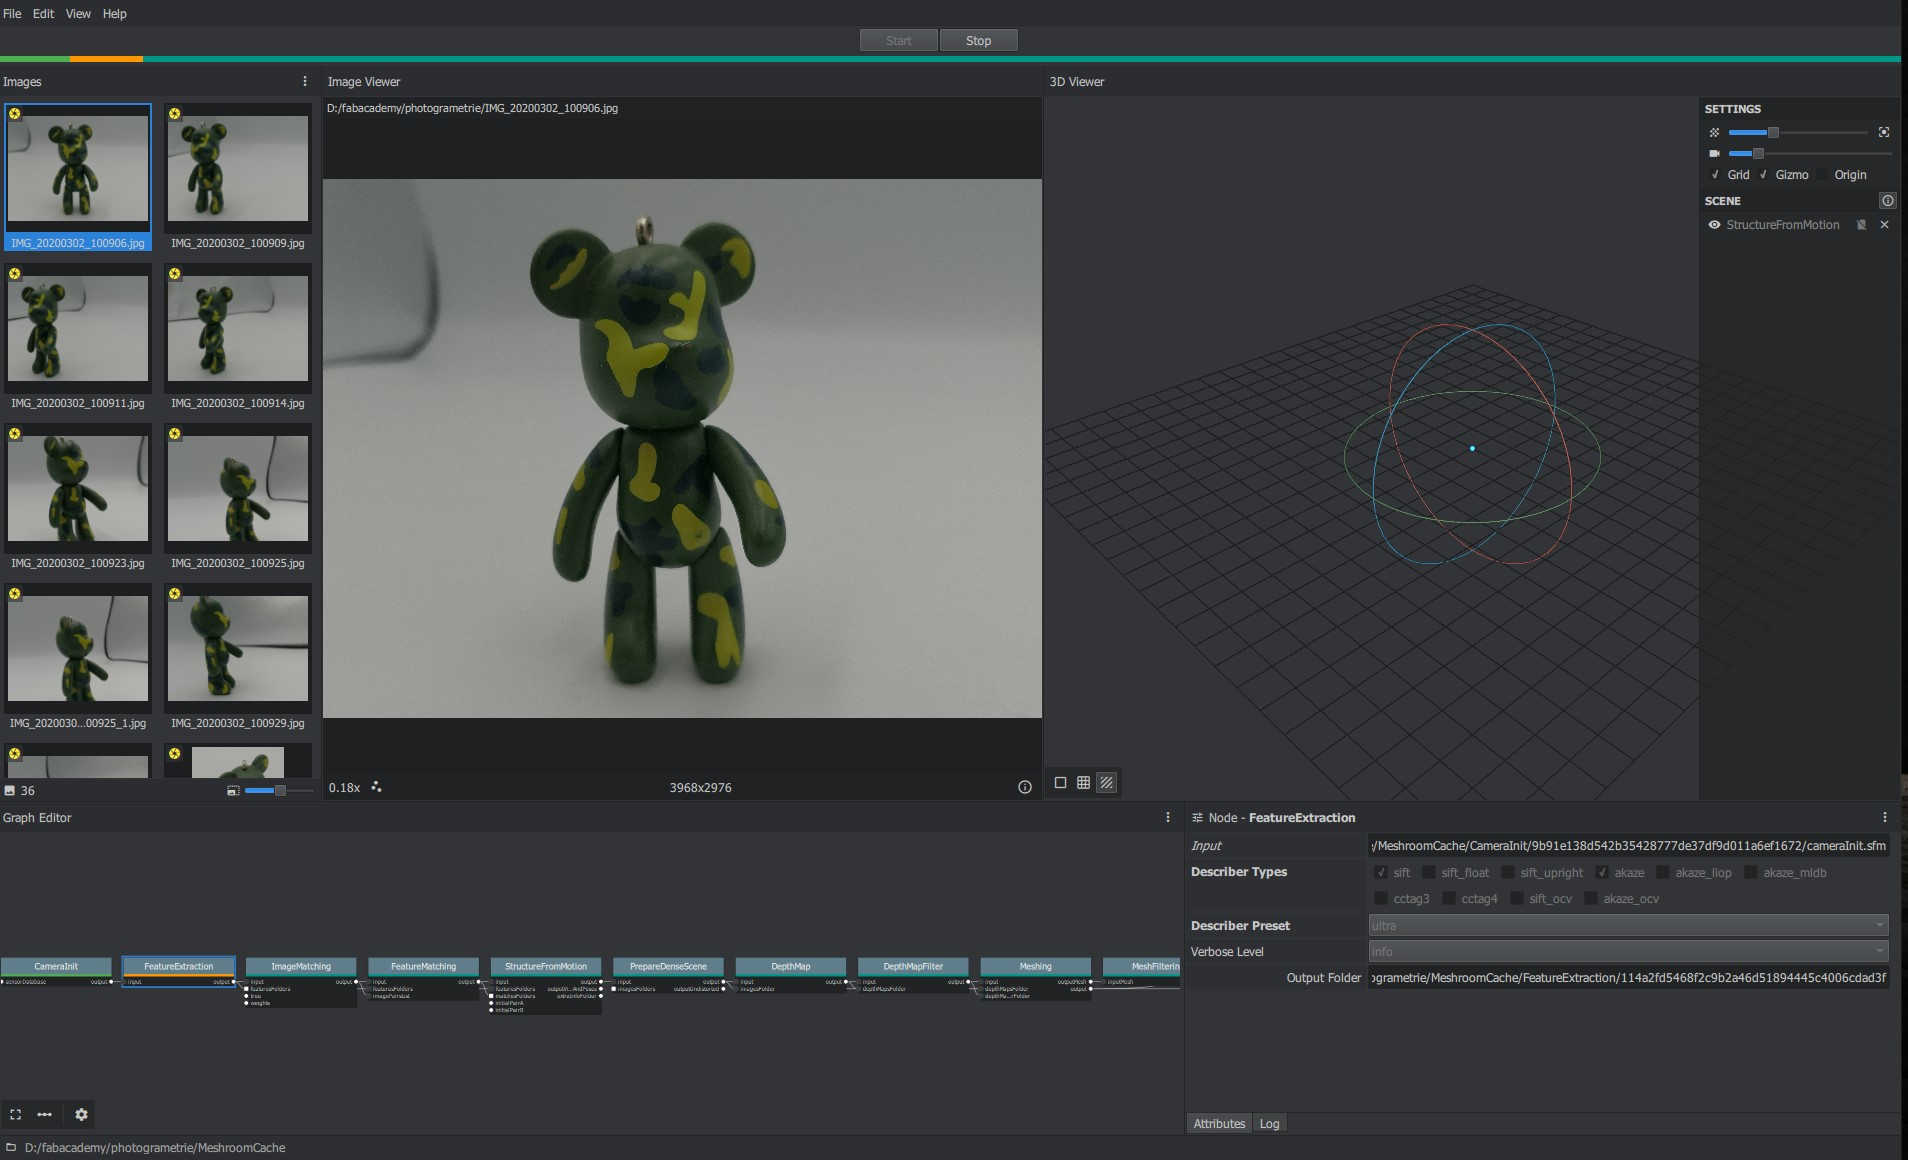
I try Alicevision Meshroom a Opensource project of Photogrammetric Computer Vision Network.
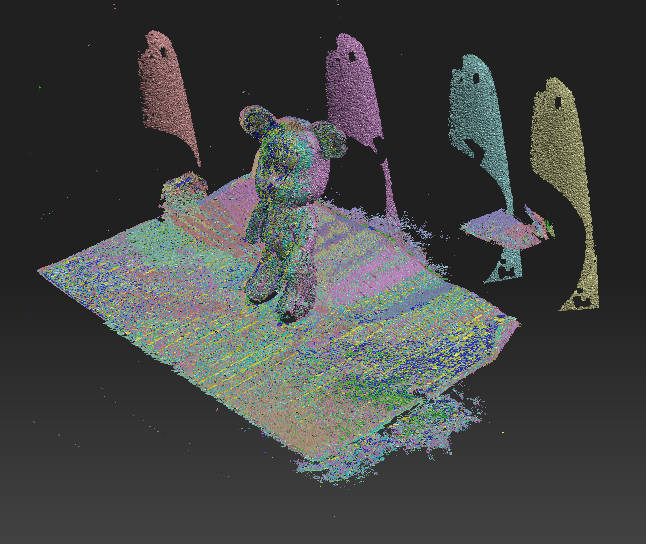
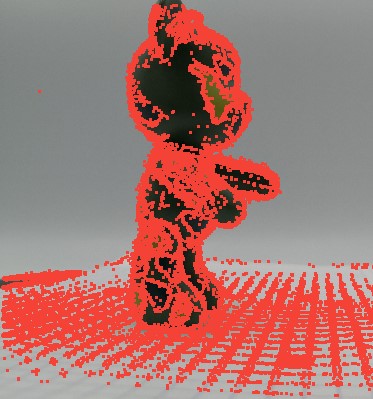
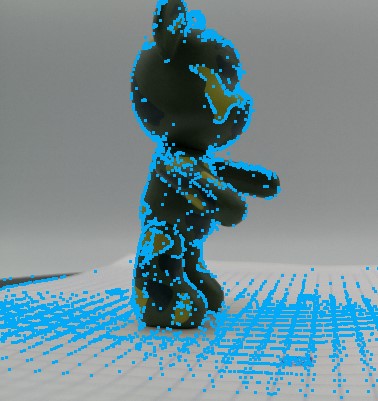
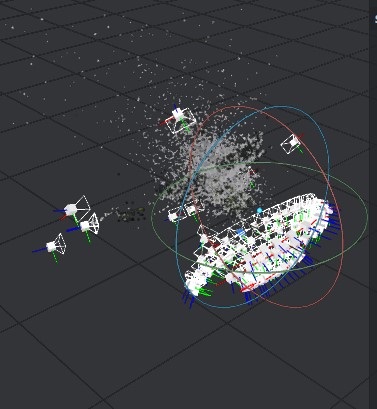
I have a problem with my GPU driver & i don't know if it's the reason or if it's due to the camouflage paint,but after sucsefull extract different reference point on each photo, the result was really not expected.
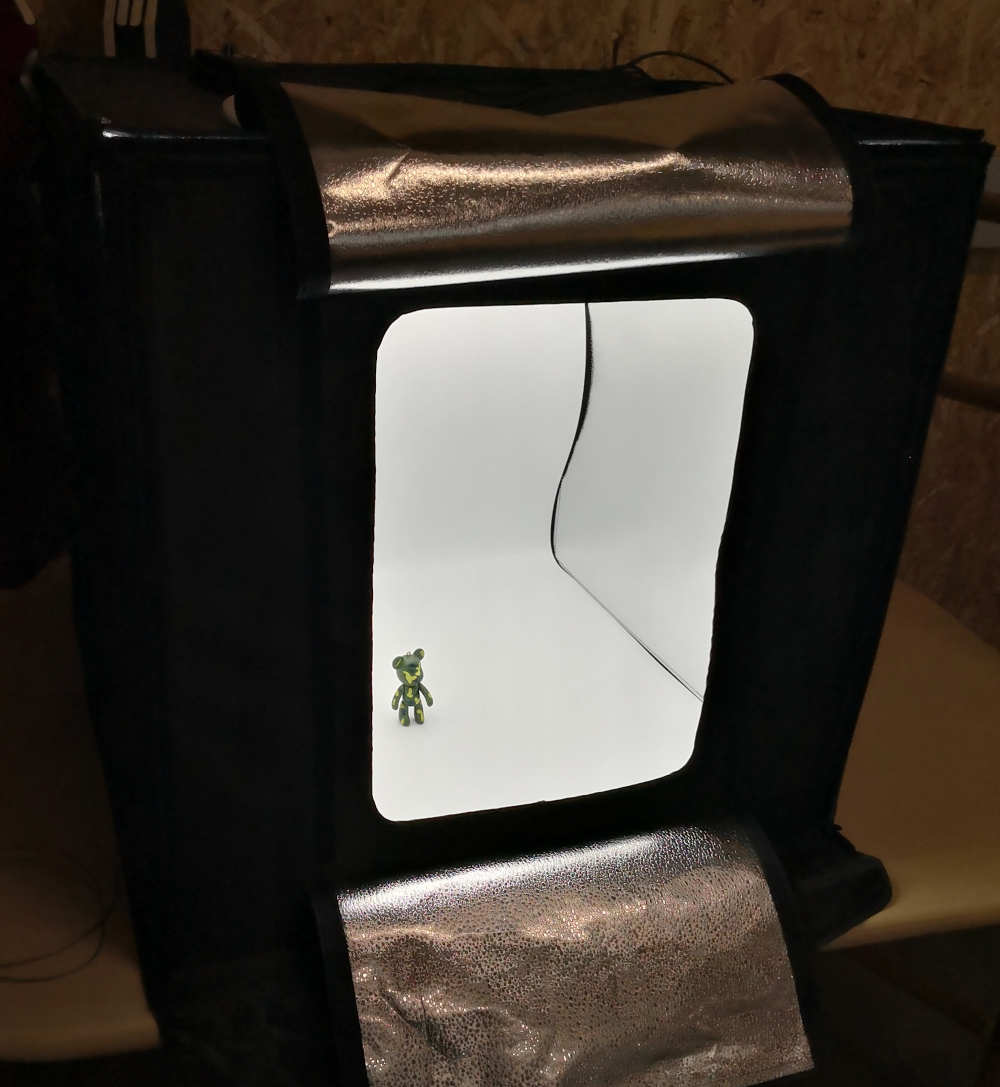
After reflexion on why its not working i think it's due to the use of a lightbox for take my pictures. that limiting the ability to get a relative position for the photogrammetry software.
Bonus:
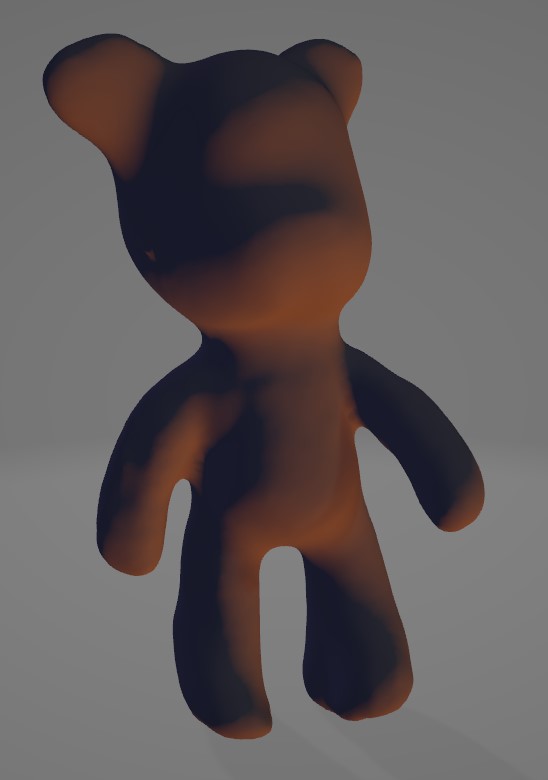
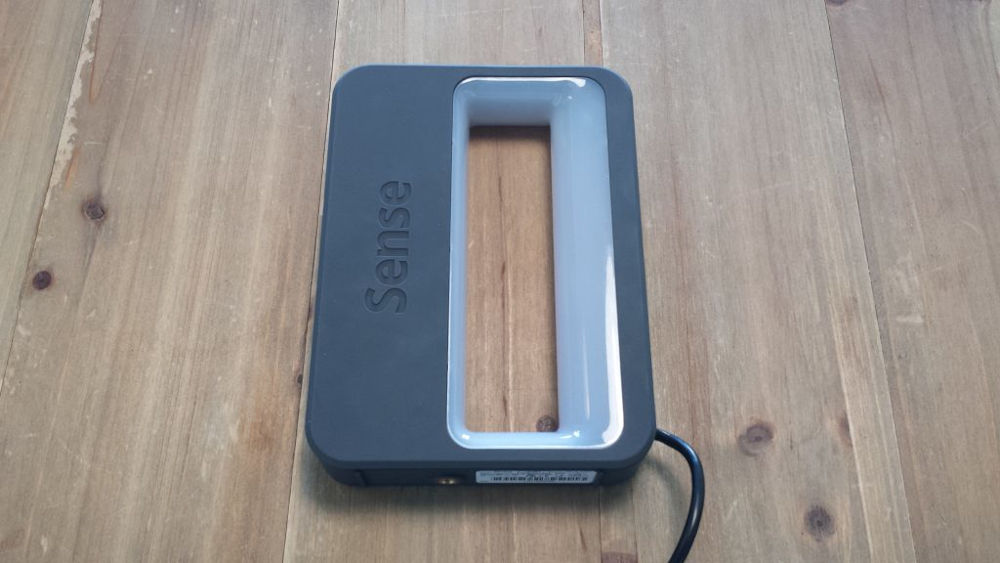
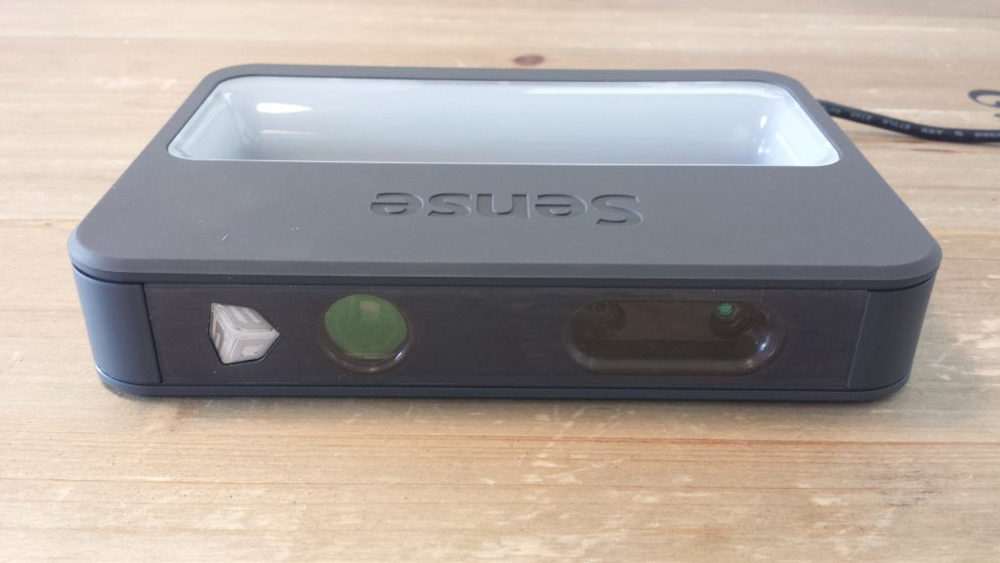
In another FabLab (Lorem in Paris), i use the Sense scanner, doing a nice result.
This scanner working with a laser technologie it's made to scan big object for a personnal or educationnal use. You find almost the same tech on the Xbox kinect systeme.
Previous